Join War on the Rocks and gain access to content trusted by policymakers, military leaders, and strategic thinkers worldwide.

Two weeks ago, we here at Molotov Cocktail put forward the suggestion that War on the Rocks deserved its own beer. Like most great ideas, this scheme was concocted after having a few, so we asked you, our loyal readers, to look at the concept soberly and pick a style. By a narrow margin you told us that you thought War on the Rocks should brew a Russian Imperial Stout. Thus, on a warm day in early May, Sal Colleluori, Alex Hecht, and myself (James Sheehan), set out to brew the true king of beers.
The Russian Imperial Stout, literally the beer of Czars. Brewing a beer of this size and scope is no small undertaking. First off, you need a lot of grain — approximately 22 lbs. per every 5 gallons of beer, to be precise. You also need hundreds of billions of yeast cells, about 380 billion per batch in our case. We brewed 15 gallons of the stuff, so we did it in three five-gallon batches. It took all day.
The basic idea of making beer (or any fermented alcoholic beverage for that matter) is to take something with sugar (in the case of beer, “wort”) and introduce yeast, which metabolizes that sugar into alcohol.
While there are many optional steps in making beer, the general outline of the process is:
That’s it. Easy, right? Well, not exactly.
First, in order for the hot mash water to begin activating the grain’s enzymes the kernels need to be crushed. To speed up this process we hooked up our grain mill to a power drill. (Special thanks to Dave Caballero for providing the drill here and helping out on brew day.)
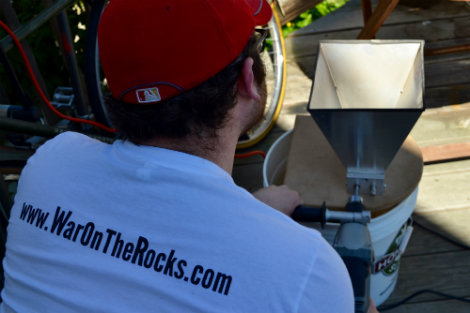
I use the drill-powered grain mill to grind different types of barley for the mash.
Next, we heated water to 169°F. While the target temperature for our mash-in was 155°F, we anticipated that nearly 22 lbs. of room temperature grain plus a room temperature mash tun would drop the temperature of the water by 14-15 degrees. Therefore, it was necessary to overcompensate.
Sal and I mix 22 lbs. of grain into a 10 gallon mash tun. The formula website we used to calculate our times advised us that with a 10 gal. mash tun and 22 lbs. of grain we’d be ‘cutting it close.’ They were right.
The grain then sat in hot water for 90 minutes (in our case — some beers take longer, others shorter) to ensure full enzymatic conversion. During this time, the enzymes in the grain converted starch into sugar. Mashing at different temperatures creates sugars with different levels of complexity and fermentability by yeast. Mashing in the high 140s will yield a drier beer, mashing in the mid 150s will yield a balanced beer with some residual sweetness, and mashing in the high 150s will yield a very sweet beer. For a Russian Imperial stout, we wanted some residual sweetness, so a mid-150s mash temperature was chosen.
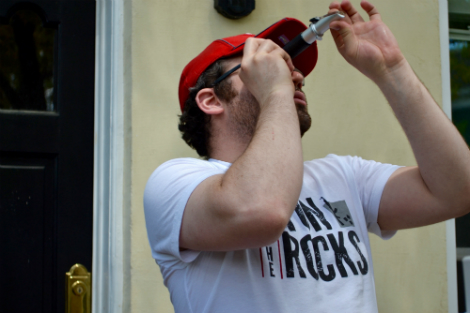
Me looking pretty snazzy checking the post-sparge gravity.
At the end of the mash, we take a gravity reading to measure the density of the mash liquid to ensure that conversion has taken place. Next we sparge. This is done for two reasons, to rinse the grains of sugars and to stop enzymatic activity.
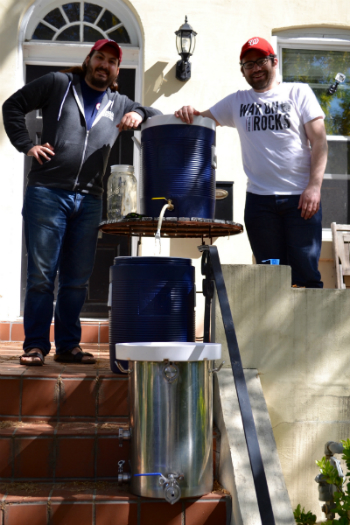
The brewmasters taking a break to pose for a photo. This photo shows the tiered, gravity-fed setup. The top tank is full of hot water, the middle tank is the mash tun (which holds the mash), and the kettle at the bottom is where the wort is captured and subsequently boiled.
What we have now is wort — or to put it simply, unhopped and unfermented beer.
This is the first draught of the wort, which Sal is incorporating back into the mash tun in a process called the Vorlauf. Vorlaufing serves to set the grain bed and make sure that the resulting wort is clarified.
Now we arrive at the step that most people associate with making beer, the boil. The purpose of this step is two-fold. First, we’re sterilizing the wort of any bacteria, mold, or wild yeast that may have made its way into the unfermented beer (which was a possibility, given that we did most of this outside). The boil is also when the wort is bittered. We accomplish this through hop additions at specific times throughout the boil. Our beer was boiled for 90 minutes to achieve more caramelization (Maillard Reaction) with hop additions at the 60-minute mark, 80-minute mark, and 89-minute mark. Hops added at different times do different things. The hops added at 60 minutes provide bitterness to balance the sweetness of the wort while the hops added towards the end of the boil provide flavor and aroma.
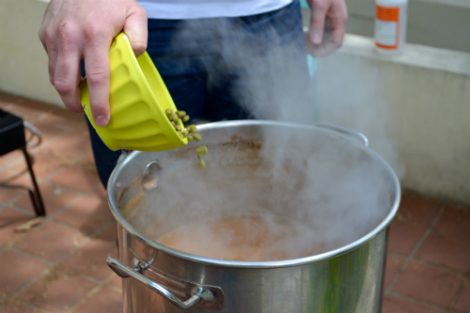
Here I am adding the first set of hops to the five-gallon batch of wort on the burner. These were aptly-named warrior hops.
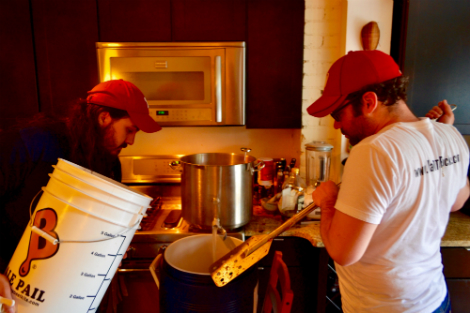
After the boil, it’s time to cool the wort. At this point in the process sanitation becomes key because the wort is susceptible to infection by wild microbes that can easily ruin a batch. From this point on EVERYTHING that comes in contact with the beer must first be soaked in sanitizing solution. To cool the wort, we used a device called a wort chiller, which is basically a length of spiral copper tubing with an input and an output. Cold water from the sink flows through the chiller, which comes in contact with the wort, dropping its temperature quickly. Before adding our yeast culture the wort needs to be around 70°F. Pitching (the addition of yeast to the wort) too warm can cause off flavors from stressed yeast.
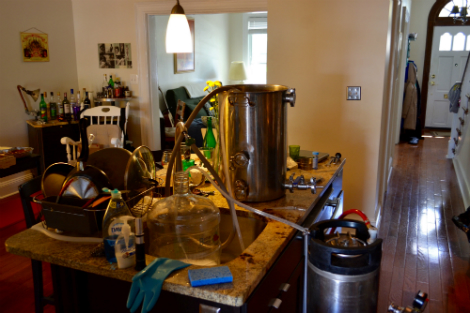
The kettle on the counter contains the boiled and hopped wort. Inside the kettle is the copper coil which cools the wort down. In the bottom right hand corner you can see the five gallon keg being sanitized under pressure.
After the wort is chilled, we transfer it to our sanitized fermenters (in this case kegs) and add our yeast.
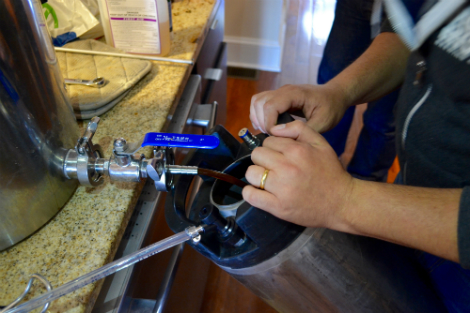
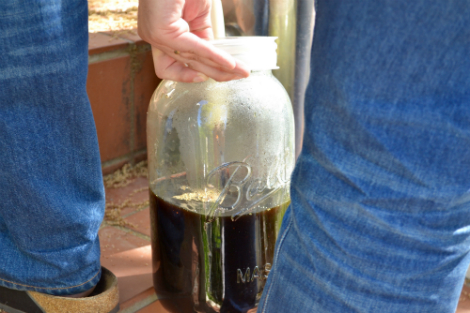
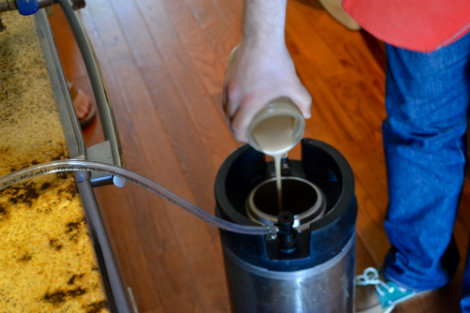
Sal holding the keg as the cooled wort is kegged. After this step comes pitching, where we add the yeast to the wort to start fermentation. I cultivated this yeast at home, which is why it’s in a mason jar.
 We then stowed away the fermenters in a climate-controlled environment (a modified chest freezer) and eagerly awaited fermentation to begin. There’s a saying in brewing that brewers do not make beer, brewers make wort and the yeast make beer. While this is a bit reductive, the sentiment is correct. The job of the brewer is to make as hospitable an environment as possible for yeast to do its single-celled thing — namely converting sugar into alcohol.
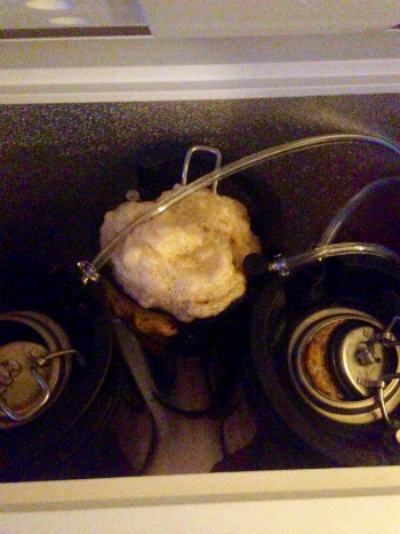
You can see here that we’ve got some very productive yeast! Sal’s cooler is a mess now, but that’s open fermentation for you.
After about three hours, fermentation had visibly begun. From here, the beer will remain in until the end of May. It will then be transferred (or “racked”) into a secondary vessel to finish fermenting and age for three more months. At the end of the summer we will package the beer and allow it age for another three months in bottles.
This timeframe probably seems absurdly long just to have a drink. However, much of why this beer takes so long is because of its high alcohol content. Session beers (roughly speaking beers under 5%) can be ready to drink within as little as 2 weeks. The higher the alcohol the longer it takes for flavors to mellow out and for the yeast to clean up after themselves.
Contained below is the recipe we used for the beer. Additionally, Alex had a GoPro set up over the brew site to do a timelapse. That video is below as well. It condenses about two hours of time into two and a half minutes. In it, you’ll see most of the process at high speed. If you’re interested in making the beer, let us know! We’d love to see our readers getting involved. As we get closer to bottling time, we’re going to be asking for more reader participation, but that’s still up in the air. Until then, keep an eye out for updates, and as the Czars would say, za strovya!
Recipe (all items available either online or at your local homebrew shop. Sal and James used More Beer and 3 Stars Homebrew Shop for their ingredients):
OG: 1.114 (23.4 °P)
FG: 1.033 (7.5 °P)
ADF: 68%
IBU: 60
Color: 48 SRM (113 EBC)
Alcohol: 10.65% ABV (7.0% ABW)
Mash: 154* F 90 Minutes
Boil: 90 minutes
Pre-Boil Volume: 7.5 gallons (26.5L)
Pre-Boil Gravity: 1.084
Total Grain: 22.75 lbs.
Weight Percent
Maris Otter 19 lbs.
Black Roasted Barley (500 °L) 1.5 lbs.
Special “B” (120 °L) 1.0 lb.
CaraMunich (60 °L) 0.5 lb.
Chocolate Malt (350 °L) 0.5 lb.
Oats .25 lbs.
IBU
Warrior 13% AA, 60 min. 1.5 oz. 64.4
Fuggles 5% AA, 10 min. 2.0 oz. 6.6
Fuggles 5% AA, 1 min 2.0 oz. 5.5
WYeast 1728 Scottish Ale
James Sheehan is a homebrewer and cider-maker. When he’s not fermenting things he works for a Washington, D.C. based democracy education non-profit. He holds an MA in Terrorism, Security, and Society from King’s College, London.